
Flash ETH dongle firmware
This page updates the ESP32 host firmware on an ETH dongle, not the Zigbee / Thread firmware on the coordinator chip. For USB dongles (ZBT-1P, ZBM-MG21, ZBM-MG24) see Flash USB dongle firmware.
When the ETH-52P / ETH-52P7 web UI still opens, upgrade ESP32 and CC2652 on the gateway under Tools → Firmware. You do not need USB. See ETH-52P / ETH-52P7 web local upgrade ESP32 / Zigbee. Use this page when the UI is gone, or you must write the host over USB from a PC.
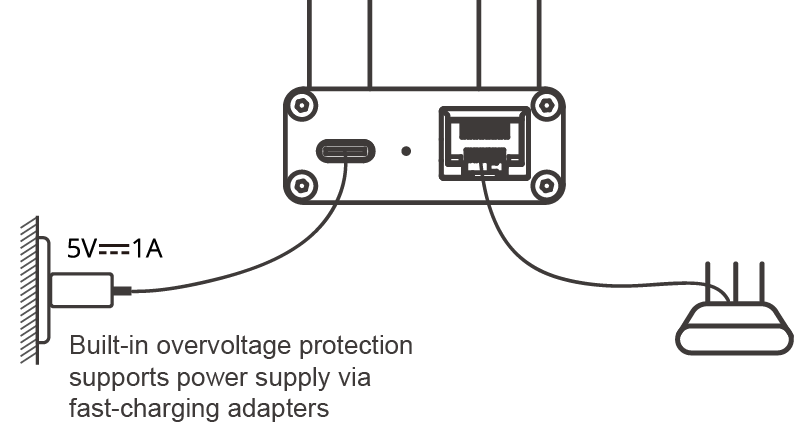
Power USB-C from a wall adapter at 5V 1A, and connect Ethernet to a router. Built-in overvoltage protection supports fast-charging adapters:
Before you start
Open Tools in Chrome or Edge, then open ETH dongle online upgrade.
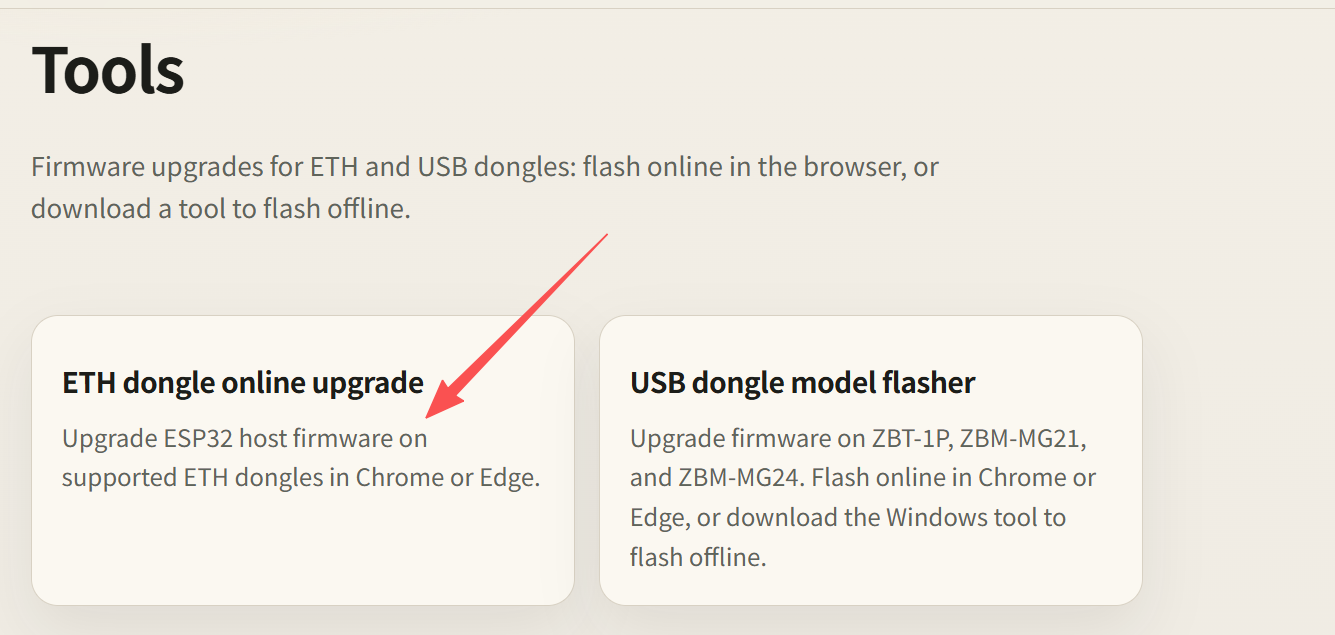
Then check the following:
- Connect the ETH dongle to this computer with a USB data cable (Ethernet or power-only is not enough)
- Close anything using the serial port: ZHA / Zigbee2MQTT in Home Assistant, serial monitors, and other browser tabs already on this page
- Pick the matching model before you flash. Do not mix 52P and 52P7, MG21 and MG24, or PoE and non-PoE images
If Windows or macOS does not show a serial port, install the USB driver first, then unplug and replug. The device in the screenshots uses USB ID 1a86:55d4 (WCH CH9102 class): CH9102 on Windows, CH34X on macOS.
Models this tool supports:
| Model | Chip | Host |
|---|---|---|
| ETH-52P | TI CC2652P | ESP32 |
| ETH-52P7 | TI CC2652P7 | ESP32 |
| ETH-MG21 | EFR32MG21 | ESP32 |
| ETH-MG24 | EFR32MG24 | ESP32 |
| ETH-MG21 POE | EFR32MG21 | ESP32 |
| ETH-MG24 POE | EFR32MG24 | ESP32 |
Do not use this flow for any other model.
Connect the device
The steps below use ETH-MG24 as the example. Other ETH models are the same; only the serial name and the confirmed model change.
Open ETH dongle online upgrade and click Connect device.
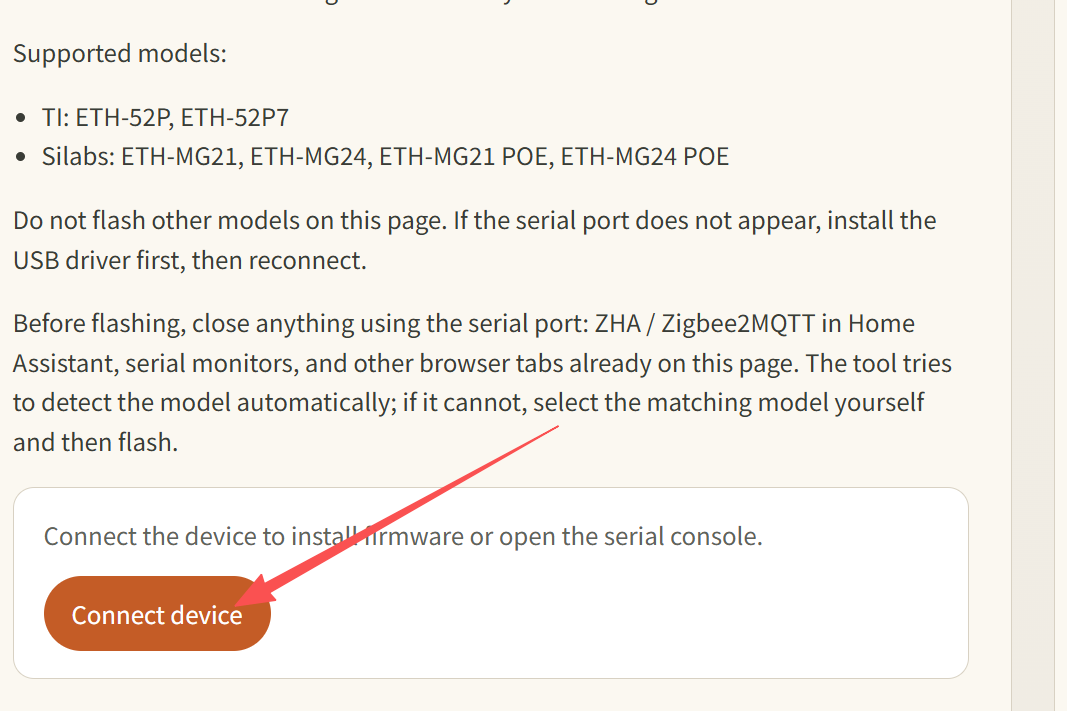
In the browser serial picker, choose that ETH dongle (the name usually includes the model and COMx / ttyUSB / ttyACM) and allow access. The list may also show a USB dongle or other ports. Pick the ETH host you are flashing, not a USB dongle.
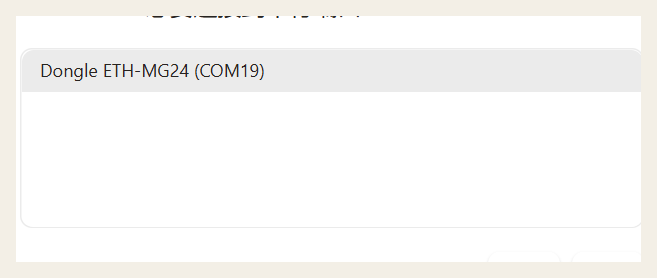
Confirm the model
The tool tries to detect the model. If it cannot, a yellow notice appears and you must click the matching row. The wrong choice can leave the host firmware unusable. Keep 52P / 52P7, MG21 / MG24, and PoE / non-PoE separate.
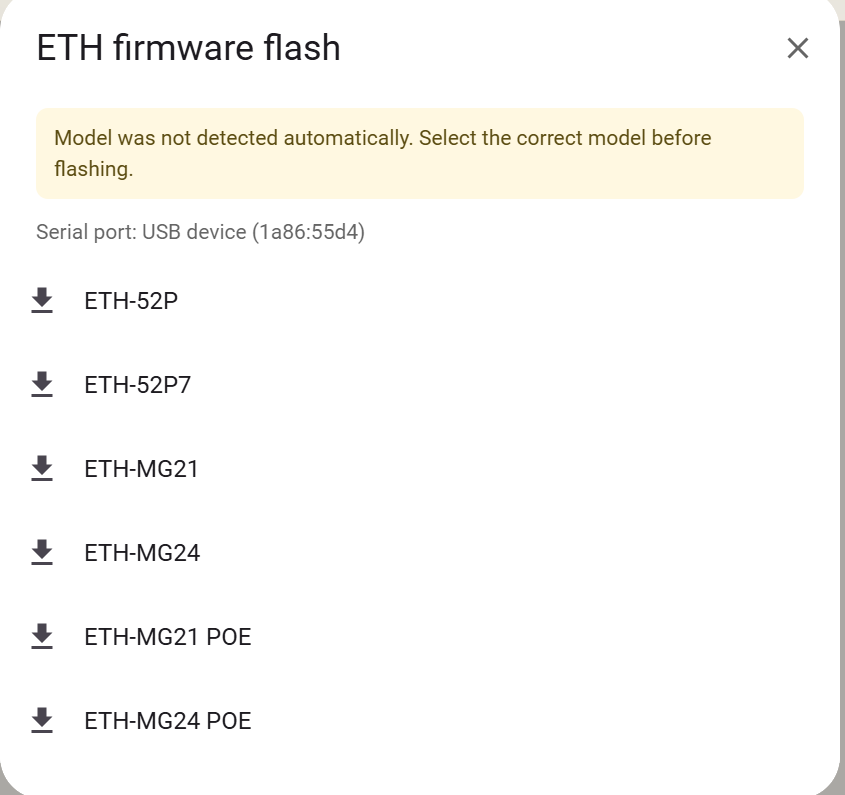
If the model is already detected, skip this step and install.
Install firmware
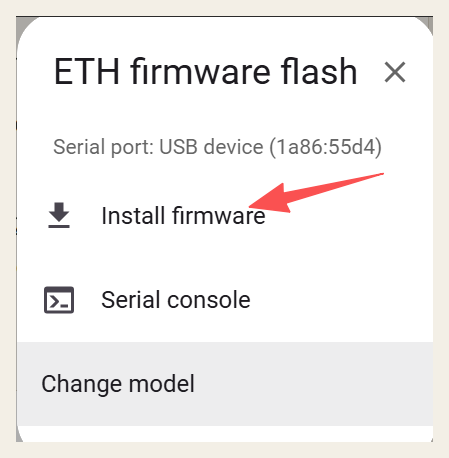
When the model is correct, click Install firmware. The tool writes the current published host image. Wait until it finishes. Do not unplug or close the tab.
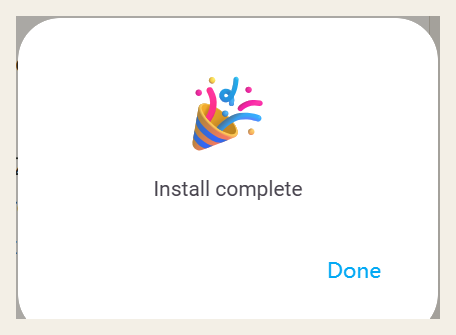
When you see Install complete, click Done. Unplug and replug, then return to Home Assistant or the gateway web UI.
FAQ
The serial list is empty, or the OS does not see the device. Install the driver, try another port or cable, and confirm ZHA / Zigbee2MQTT is stopped. On Linux, the user needs serial permission (often the dialout group).
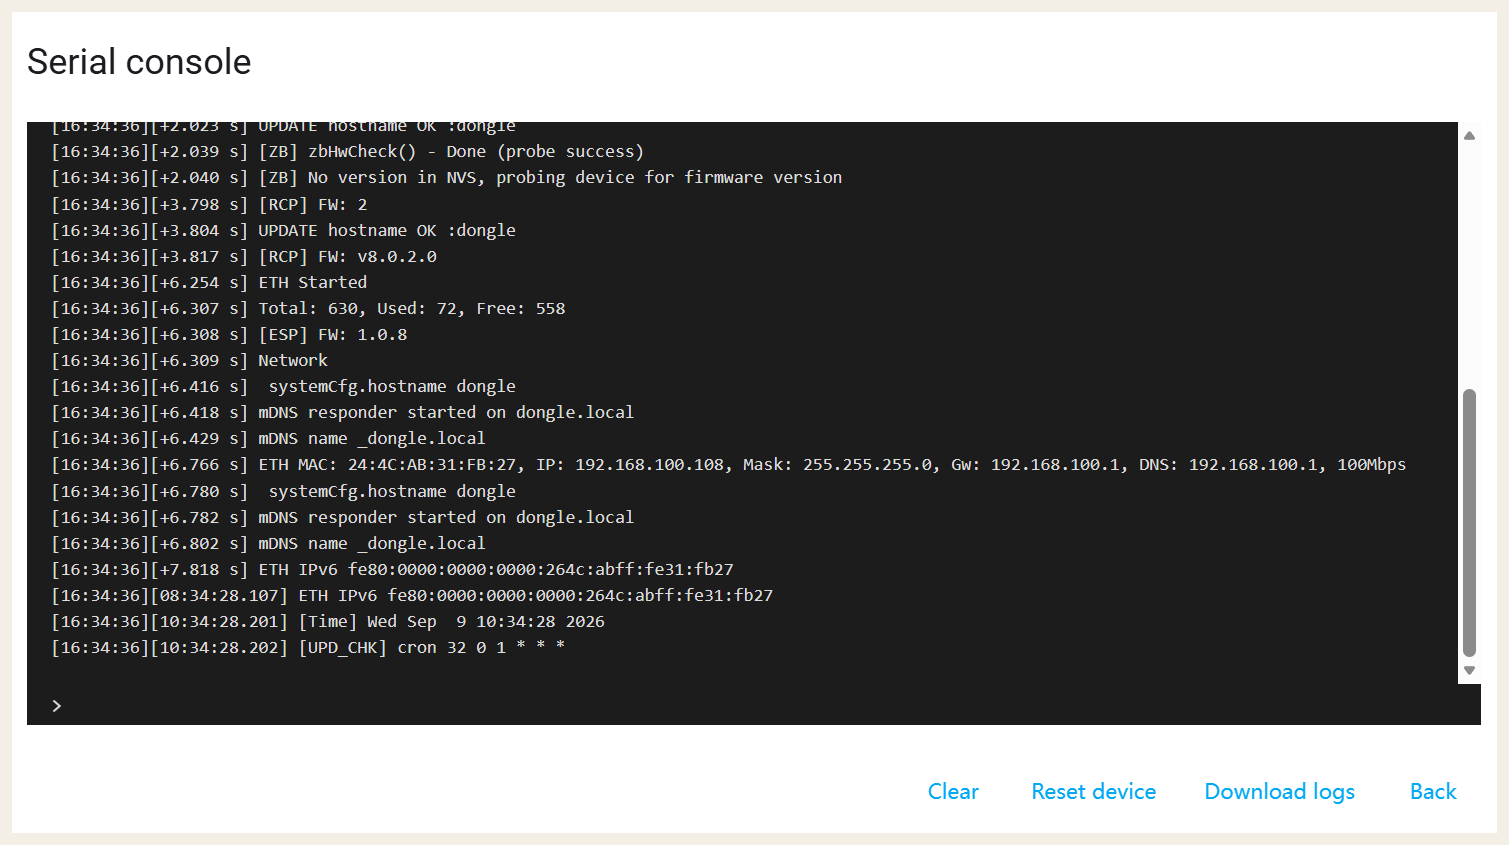
Flashing fails, stalls, or the unit misbehaves afterwards. Close anything using the serial port and retry. Confirm the model. If it still fails, open Serial console in the flasher, send the log to inswift888@gmail.com, and include the exact model (PoE or not).
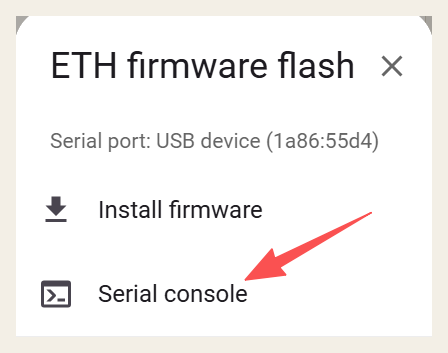
The console shows host firmware version, whether Ethernet came up, and the assigned IP. You can also click Download logs and send the file.
ZHA / Zigbee2MQTT will not start after flashing, or Ethernet has no address. Unplug and replug USB and Ethernet first. This page only changes the ESP32 host; the Zigbee adapter (zstack / ezsp / ember) still follows the coordinator chip. For protocol mismatch, see the FAQ.